Once your seller account is verified and active on Acleem.com, it’s time to showcase your products to potential customers. If you still haven’t figured out how to become a seller on Acleem, there are some really easy steps that you need to follow. Want to know more? Check our blog about ‘How To Become A seller On Acleem’.
In this step-by-step guide, we will help you add your products using the desktop version of Acleem’s seller dashboard.
Whether you’re adding one item or managing a full catalog, Acleem’s interface makes the process smooth and beginner-friendly.
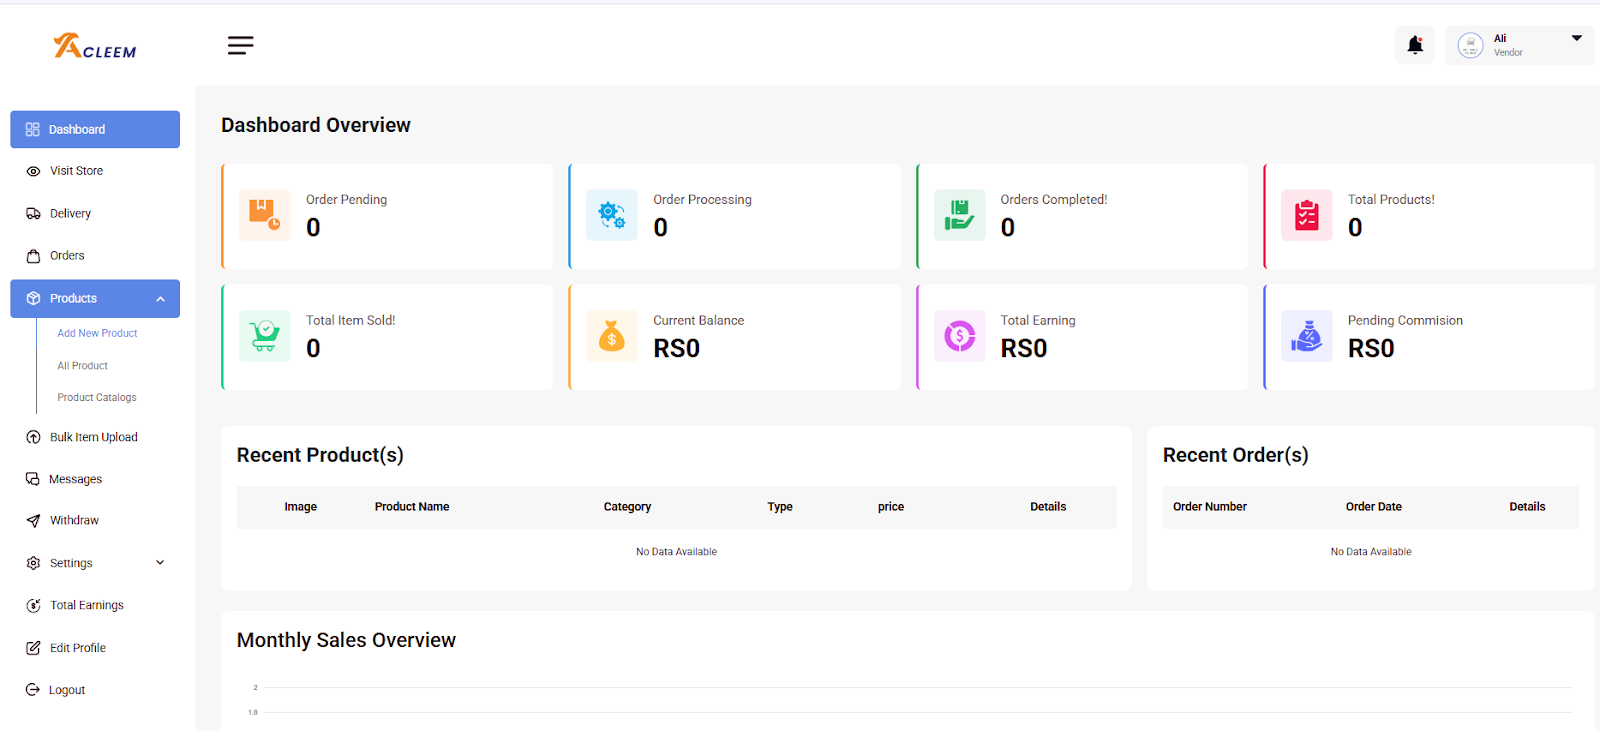
On the left-hand side of your dashboard, click on Products.
From the dropdown, click on Add Product and then select Add New Product.
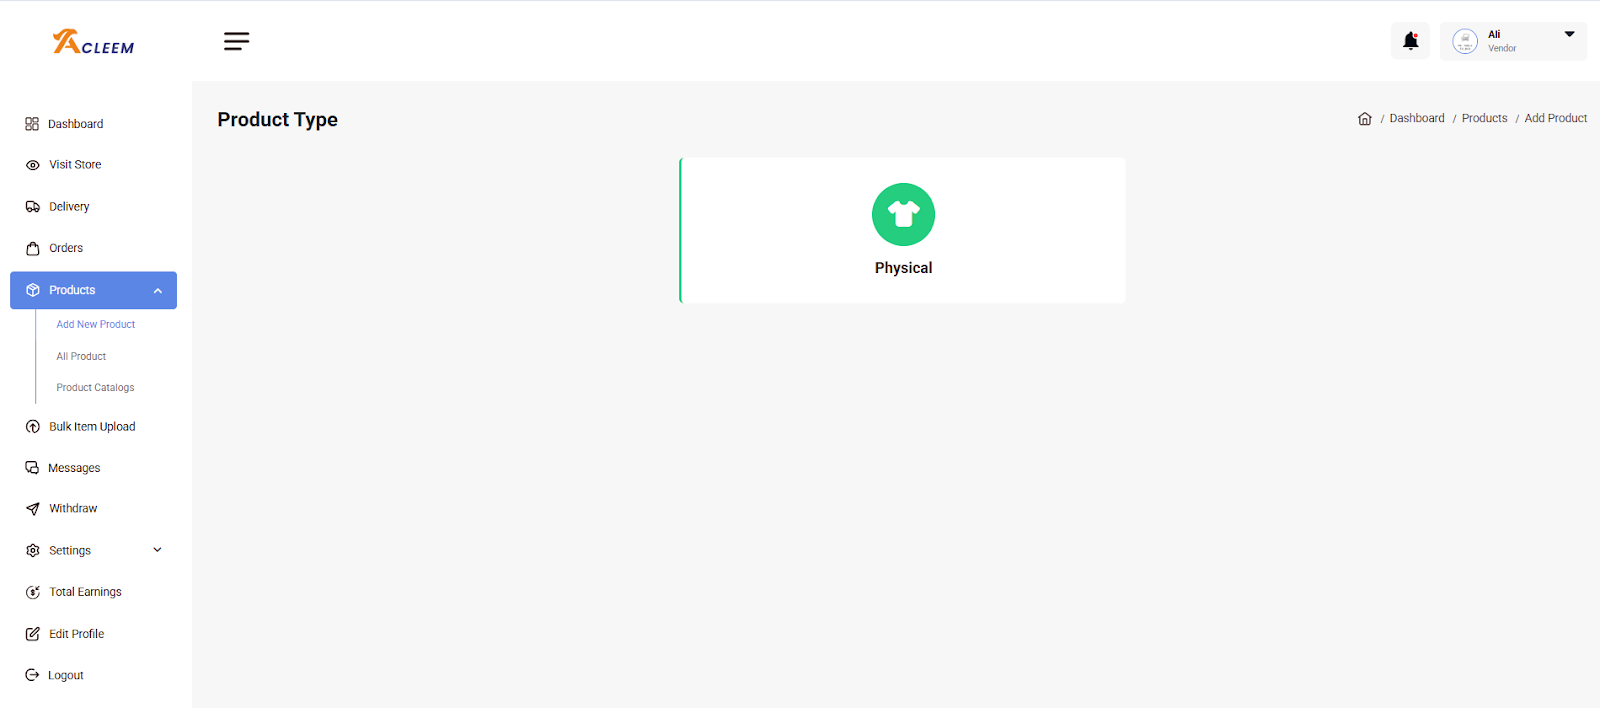
Choose Physical as the product type when prompted.
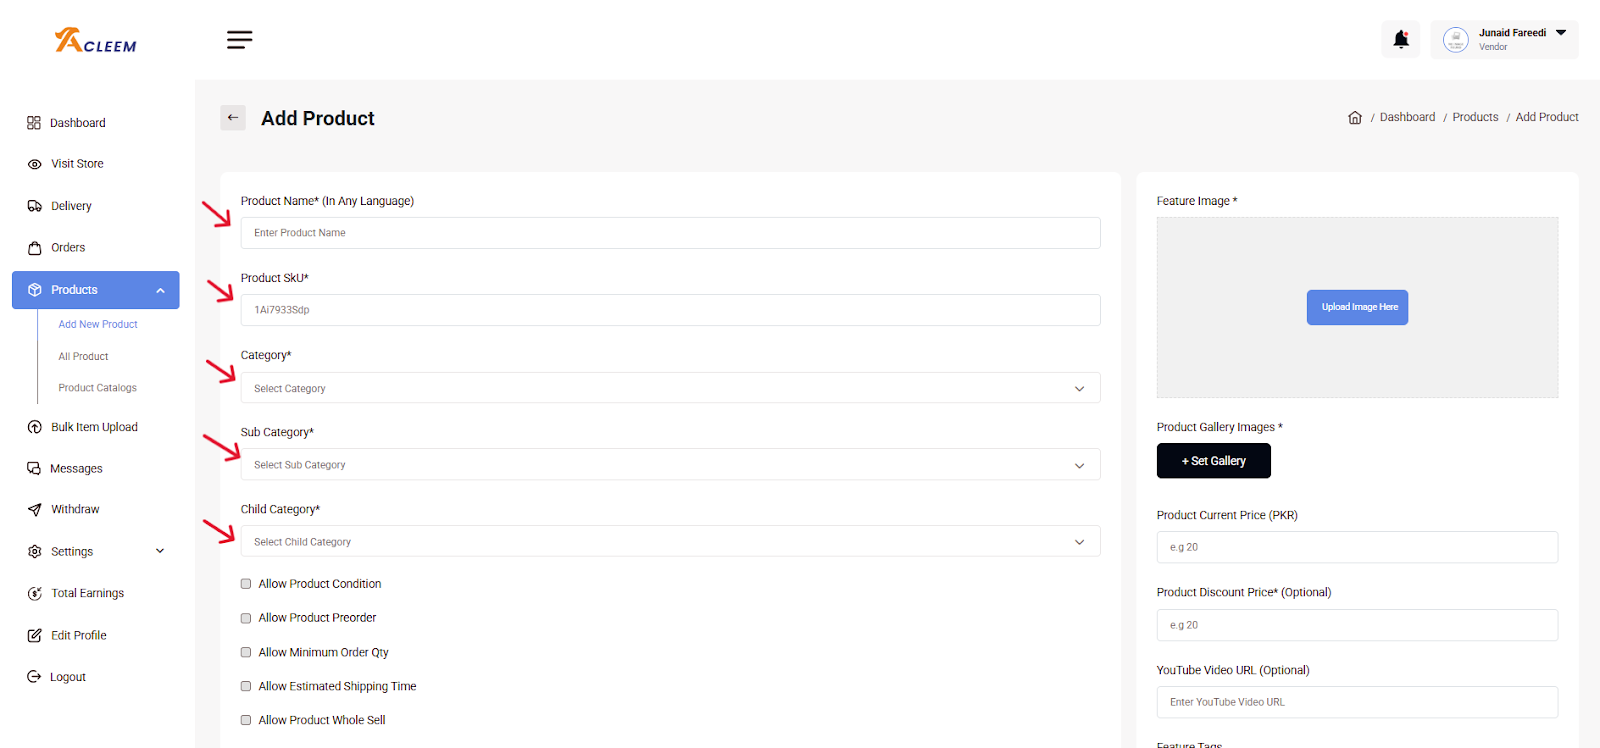
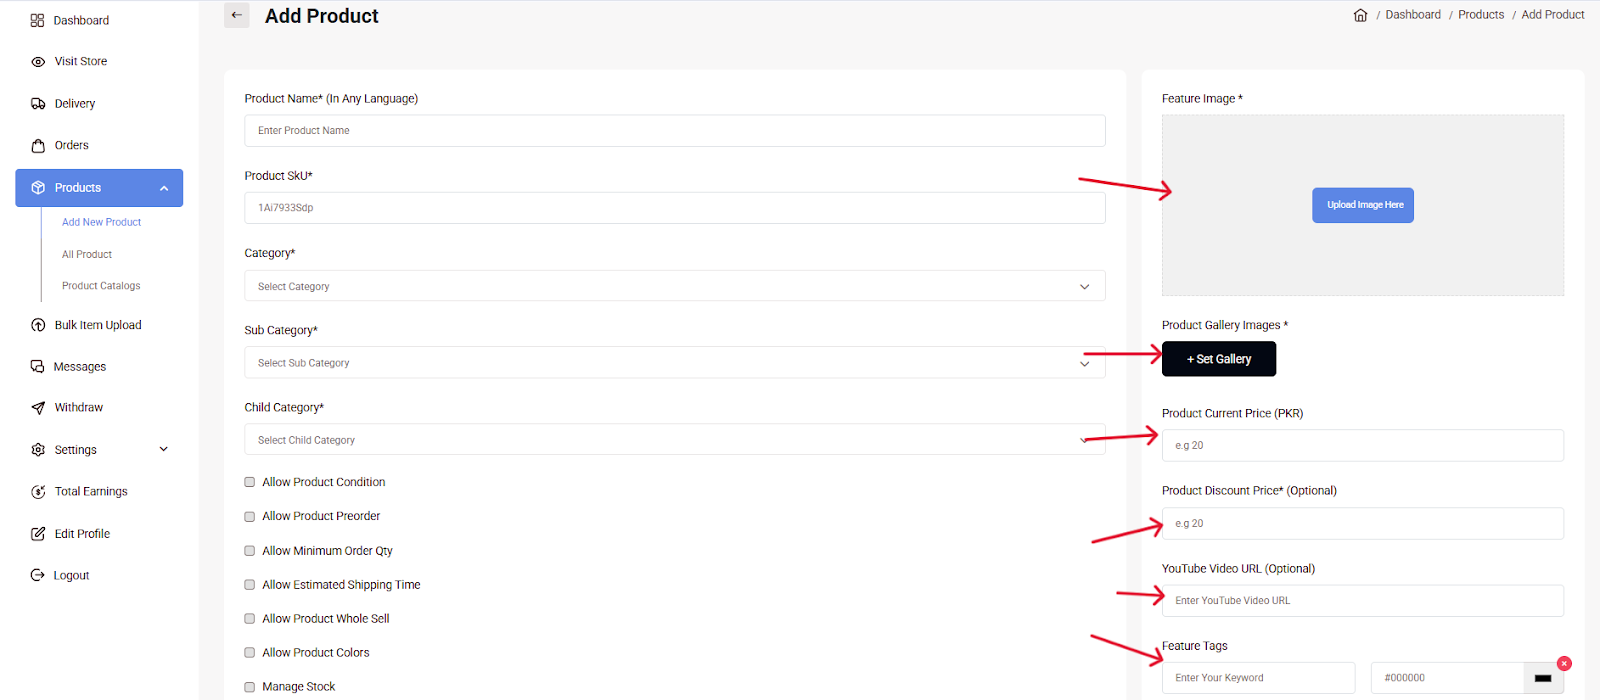
Now, you’ll see the product entry form. Carefully fill in each section:
Product Name*: Enter your product name (in any language).
Product SKU*: Enter a unique code (e.g., OC878607li).
Category/Subcategory/Child Category*: Choose appropriate categories from the dropdown menus.
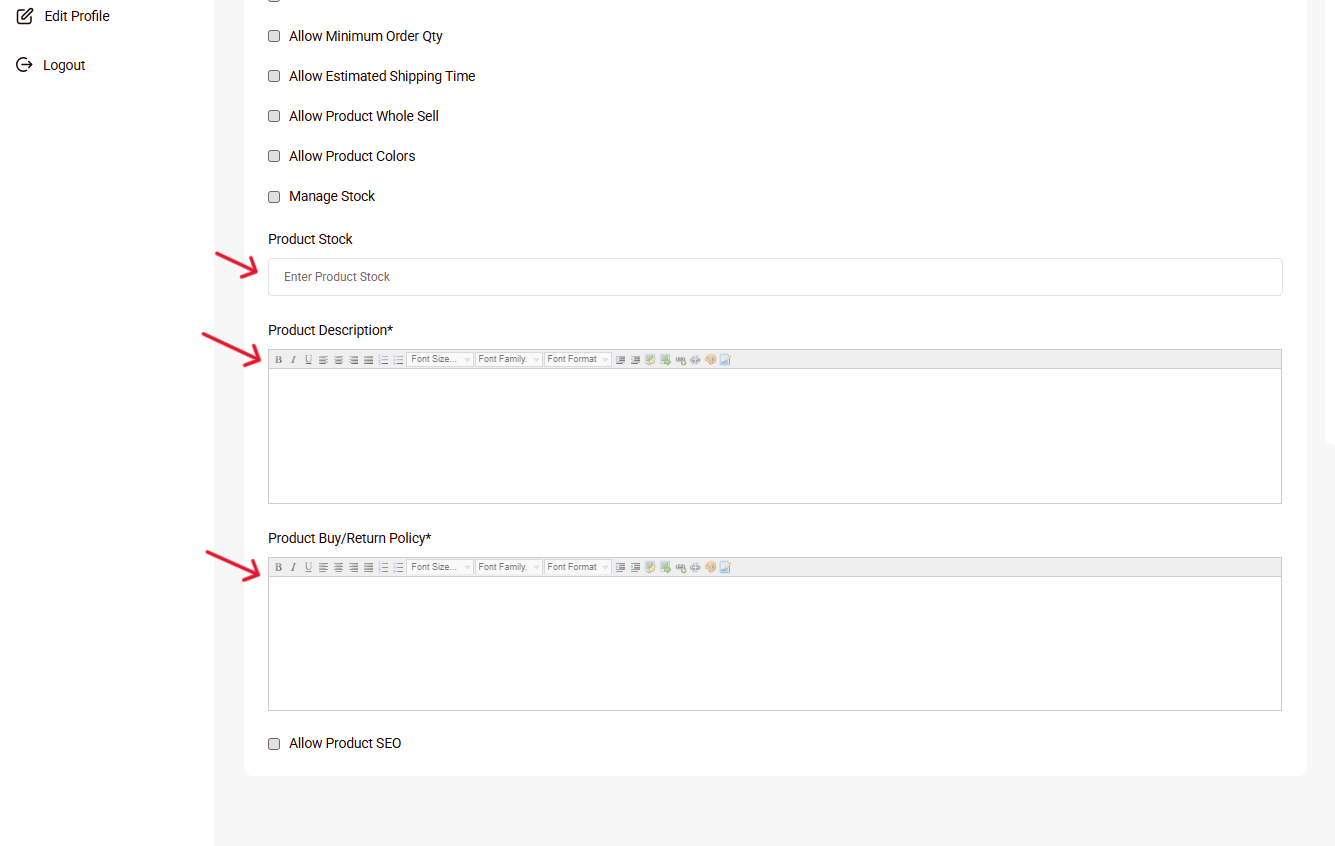
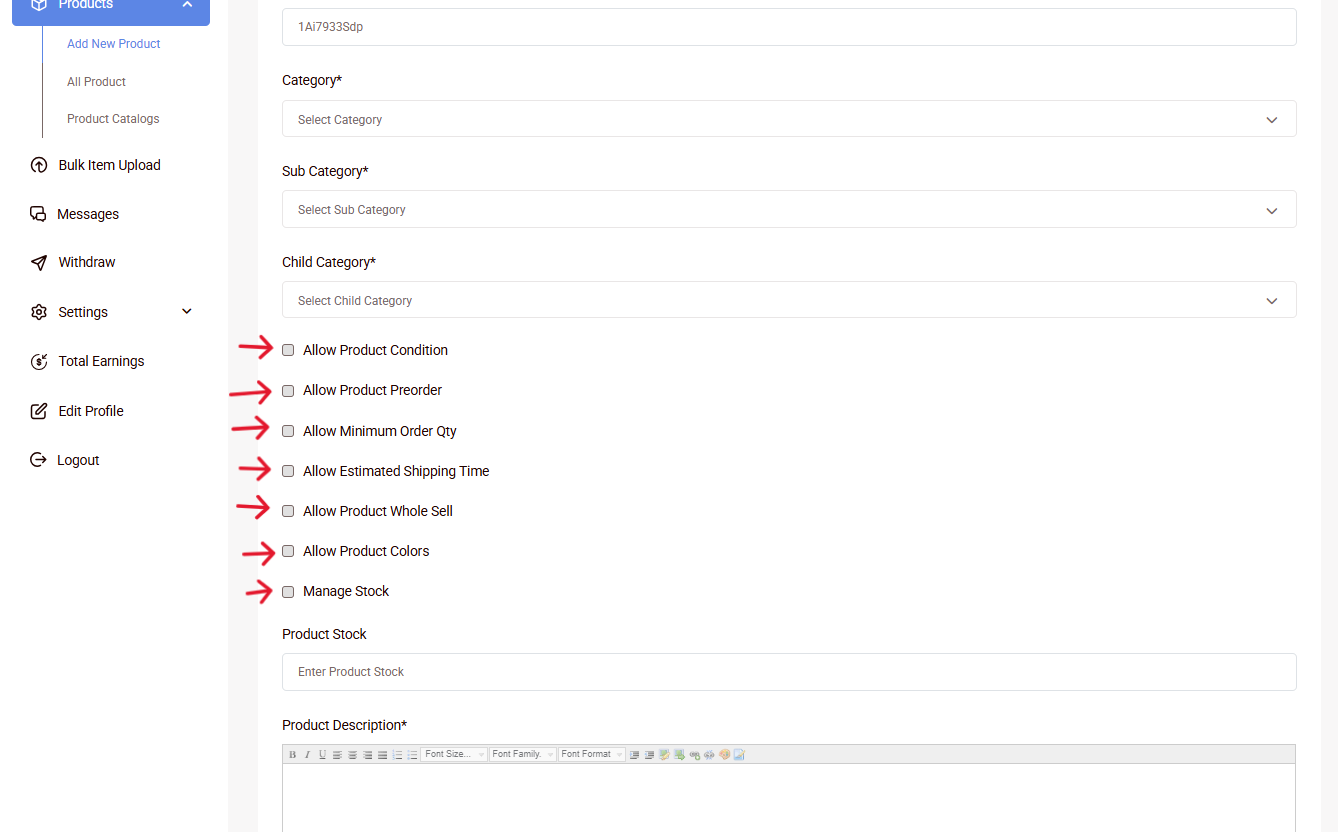
Product Stock: Enter available quantity (make sure to check "Manage Stock" if you want to control it).
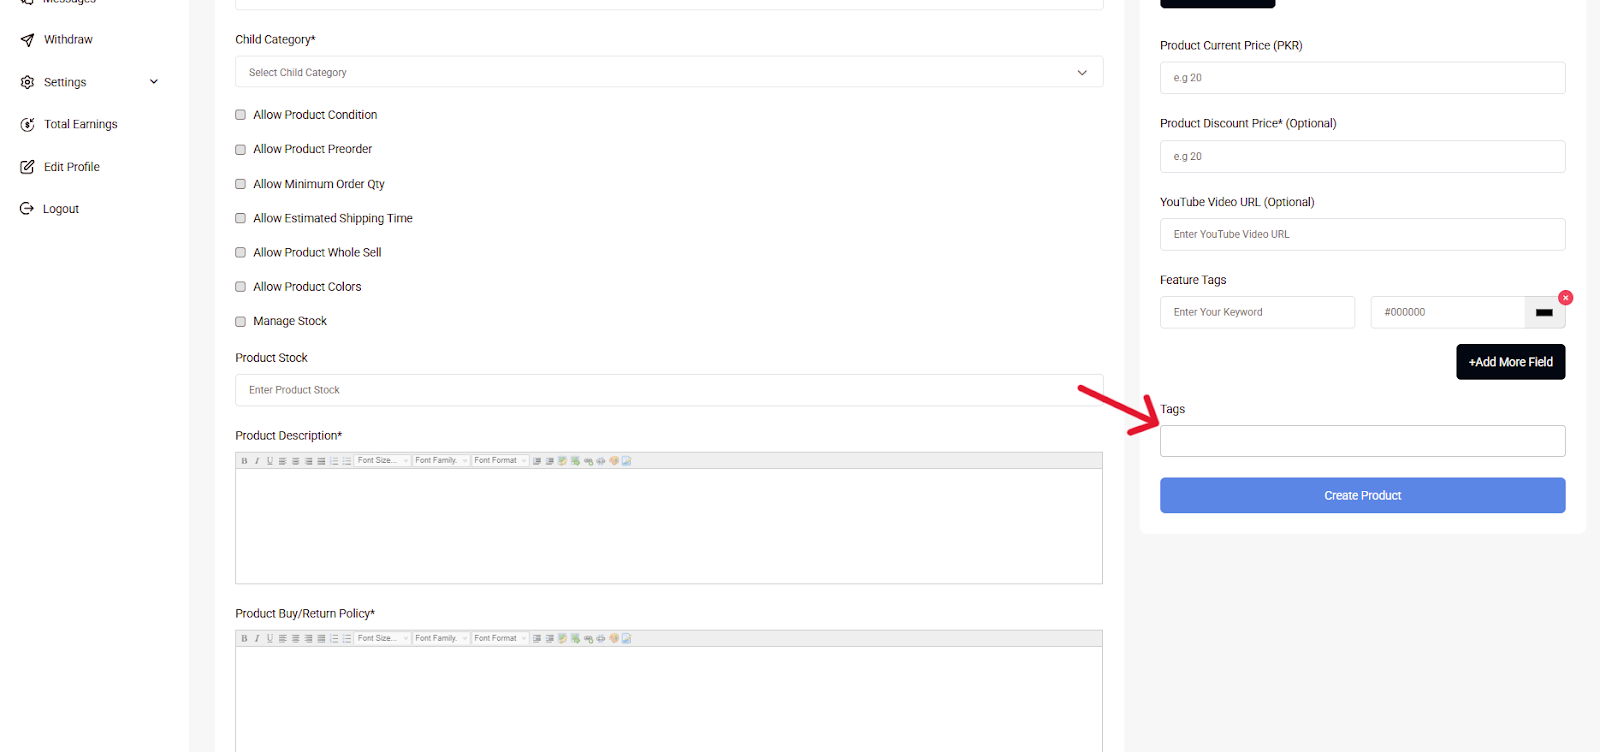
Product Description*: Write a detailed description of your product, including size, features, usage, etc.
Product Buy/Return Policy*: Clearly state your return or exchange policy for customers.
You can enable the following options as needed:
Allow Product Condition (e.g., New, Used – helpful for secondhand or refurbished items)
Allow Preorder (let customers order before stock is available)
Allow Minimum Order Quantity (ideal for bulk or B2B sales)
Estimated Shipping Time (set clear expectations for delivery)
Wholesale Options (offer tiered pricing for larger orders)
Product Colors (show available color variations clearly)
Enable only what applies to your product.
Feature Image*: Upload a high-quality image of your product.
Product Gallery Images*: Add more images to show different angles or variations.
Product Current Price (PKR)*: Enter the selling price.
Product Discount Price (Optional): If you're offering a discount, enter the reduced price.
YouTube Video URL (Optional): If you have a video demo or review, paste the link here.
Feature Tags: Enter keywords relevant to your product (e.g., #Handbag, #OrganicSoap).
If you want your product to be more searchable online, enable Product SEO and fill in the relevant fields like meta title, description, and keywords.
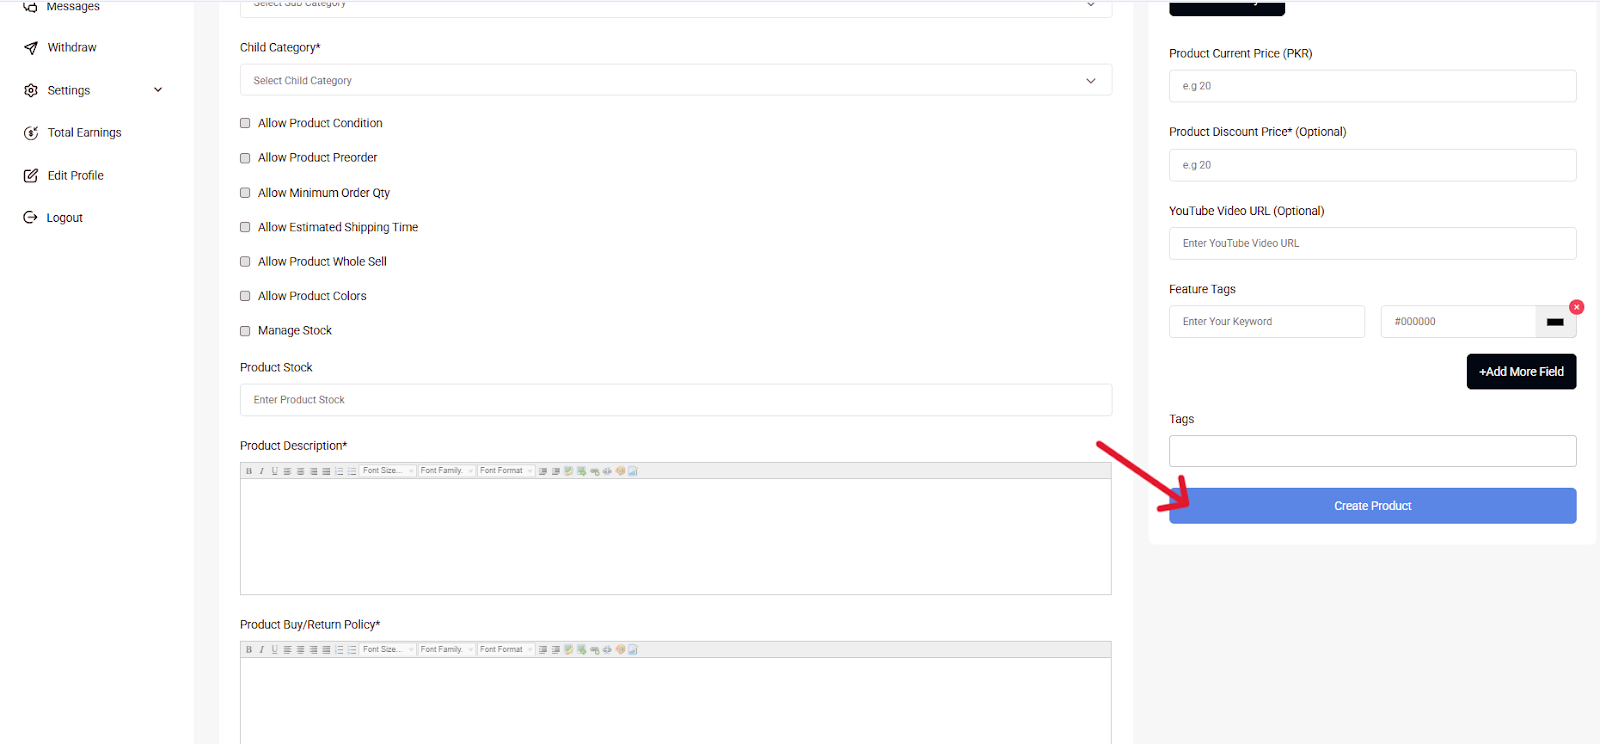
Once all fields are properly filled:
Double-check all entries.
Click on Create Product at the bottom of the form.
You’ll see a confirmation message, and your product will now appear in your product list.
To create a successful product listing that attracts and converts buyers, start by using high-resolution images that clearly showcase your product from multiple angles. Write honest and clear descriptions that highlight key features, benefits, and any important details customers should know. Including a return policy not only builds buyer trust but also increases the chances of repeat purchases. Make sure to keep your SEO tags relevant to your niche to improve search visibility and drive targeted traffic. Lastly, update your stock regularly to avoid overselling and maintain a smooth customer experience.
With these steps, you’re now ready to add as many products as you want and manage them from your seller dashboard. Acleem makes the process simple and efficient so you can focus on growing your business. Add your products now and see the sales go high!