How To Become A Seller On Acleem Using Mobile Device
How to Become a Seller on Acleem.com Using Your Mobile Phone
Want to grow your business from your smartphone? Whether you're a small business owner, a home-based seller, or just exploring eCommerce, Acleem.com lets you set up your online shop right from your mobile device. No need for a laptop—just follow this step-by-step guide and start selling today!
Why Sell on Acleem from Your Mobile?
Acleem.com is a rising eCommerce platform with a clean, mobile-friendly interface. From registering to uploading your products, everything can be done easily using just your phone. No complicated tools or tech knowledge needed—just your product info, a few pictures, and an internet connection.
Step-by-Step Guide to Register as a Seller on Acleem (Mobile Version)
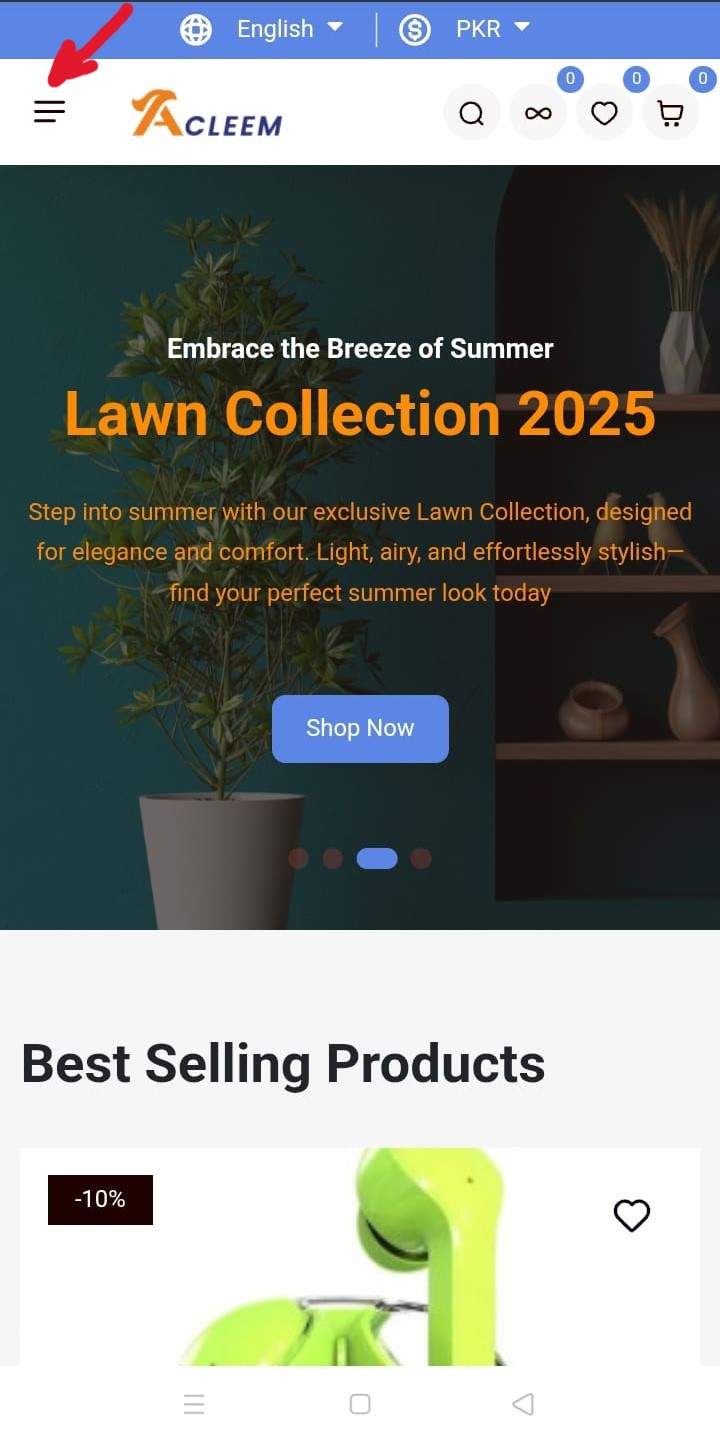
Step 1: Open Acleem.com on Your Mobile Browser
- Open Chrome, Safari, or any browser on your phone.
- Type www.acleem.com and hit enter.
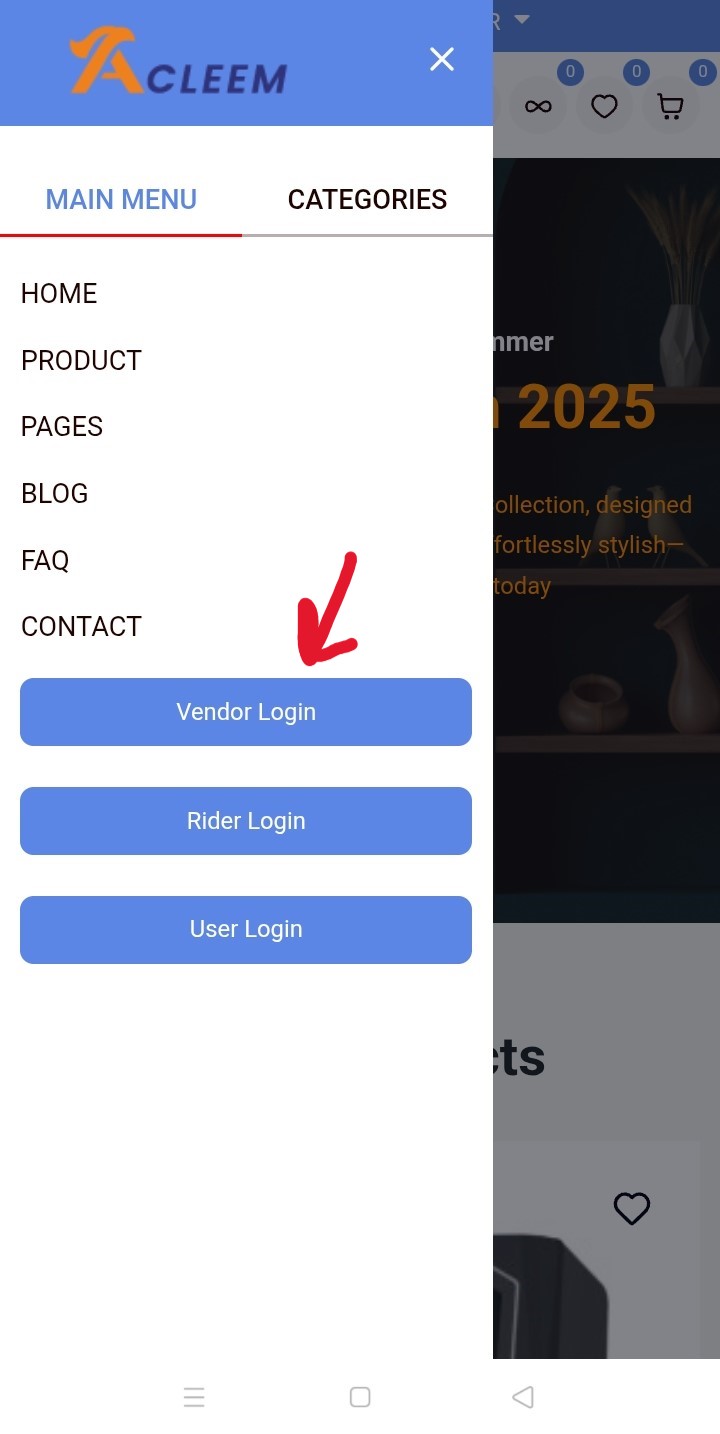
- Tap on the menu icon (☰) in the top corner.
- Select Vendor Panel or Become a Seller to get started.
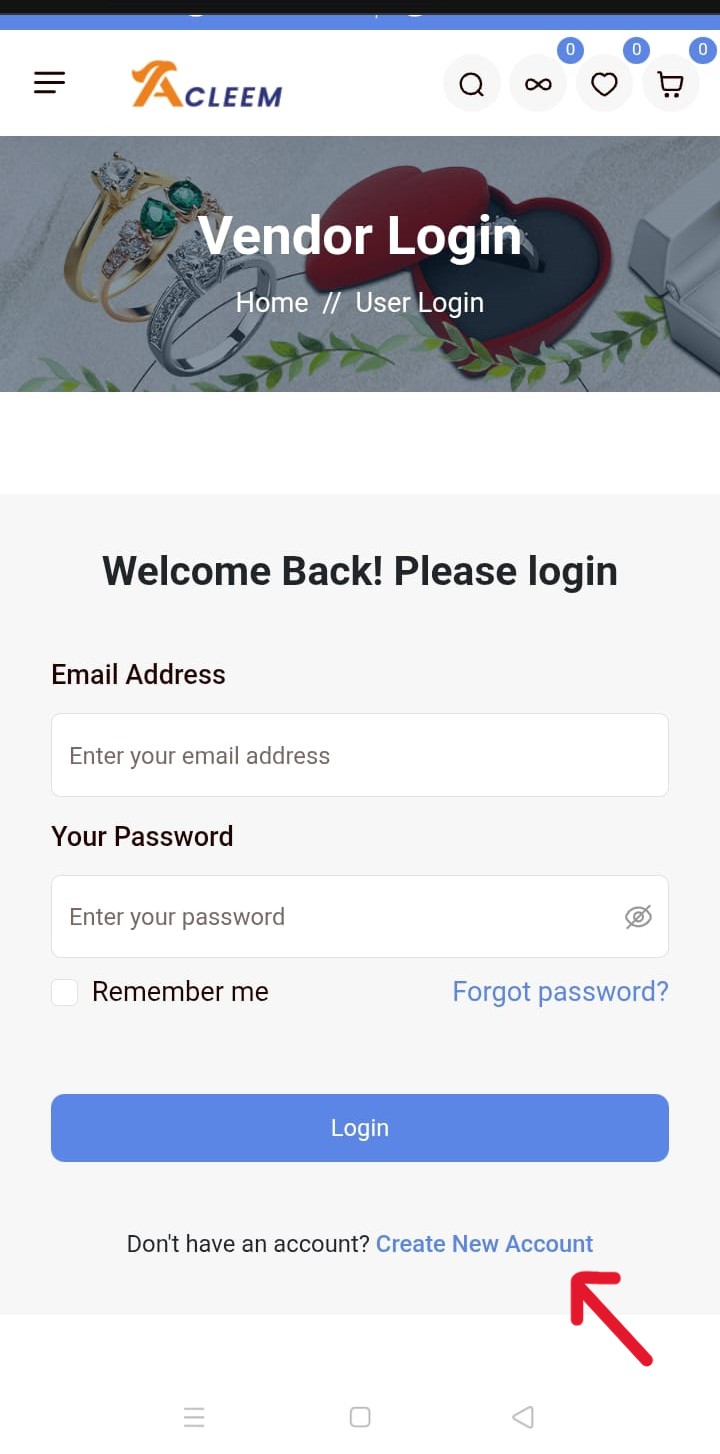
Step 2: Create Your Vendor Account
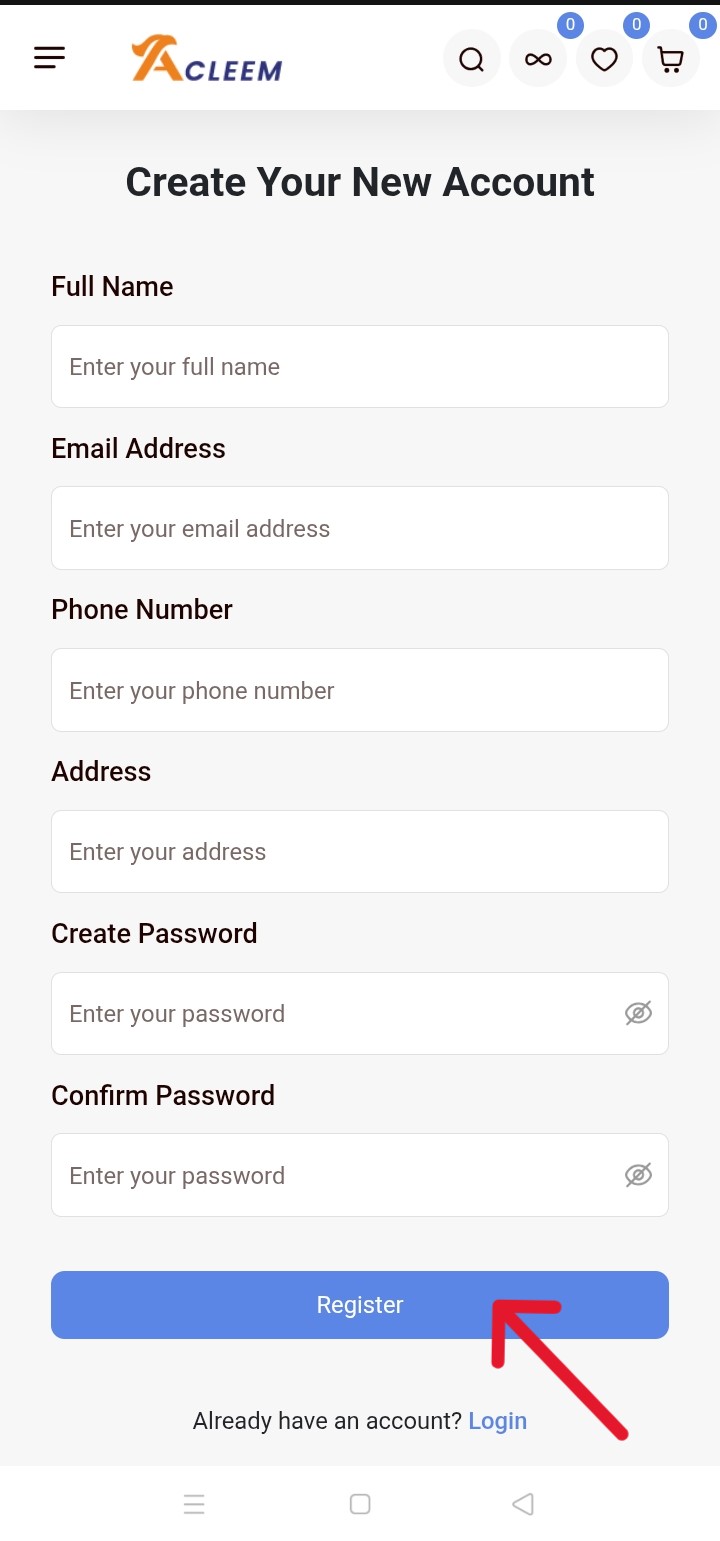
- On the Vendor Login page, tap Register.
- Fill in the required fields:
Name
Mobile number
Address
Email address
Create a secure password
- Tap Submit.
- Once done, you’ll be redirected or asked to log in using your new credentials.
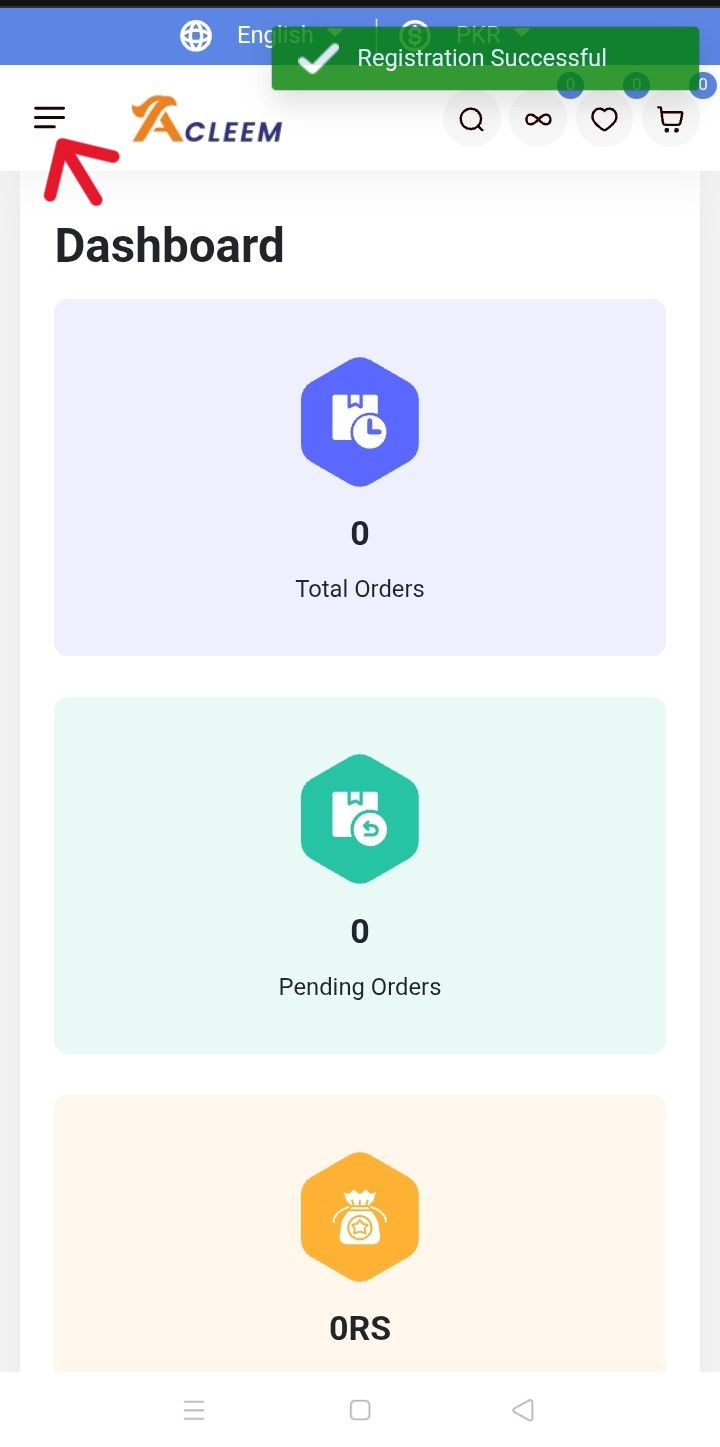
Step 3: Log In to Your Seller Dashboard
- Go back to the Vendor Panel via the menu or homepage.
- Enter your email and password.
- You’ll land on your mobile-friendly seller dashboard, where you’ll manage your store.
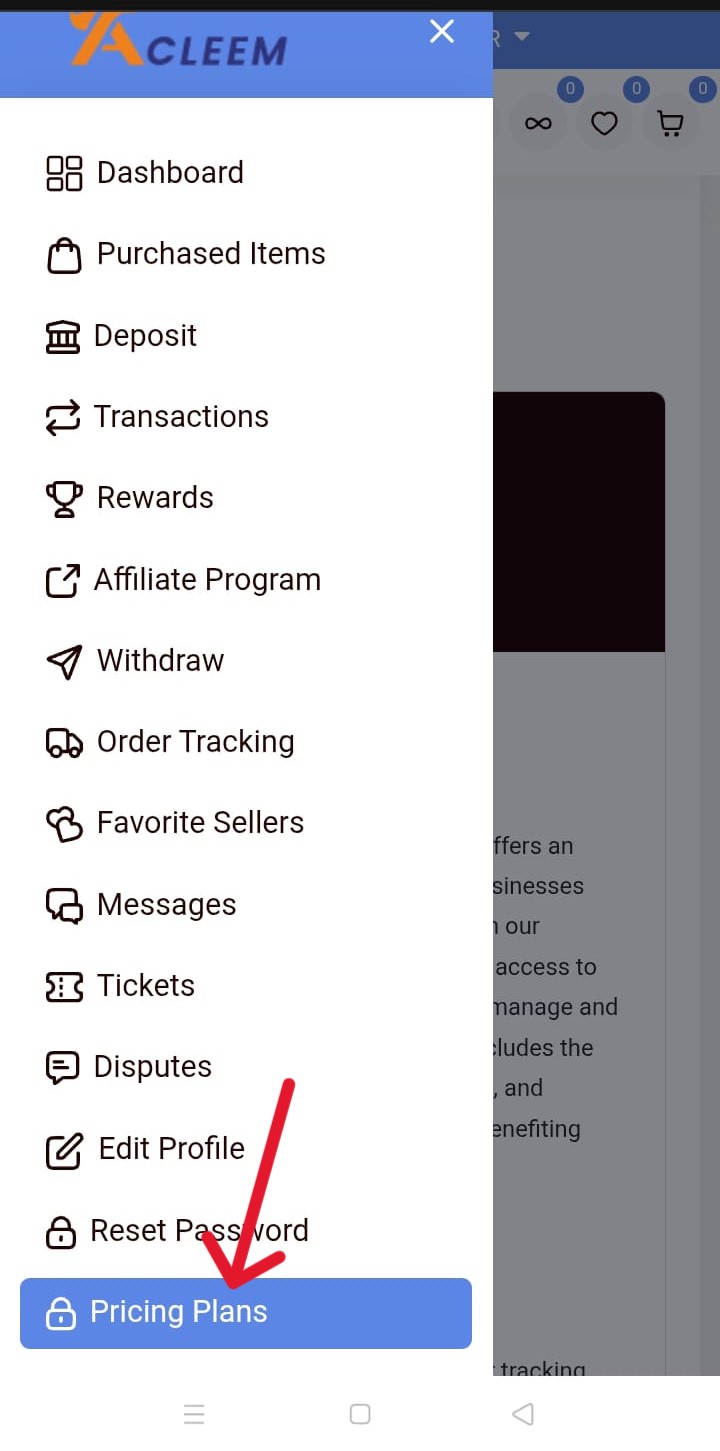
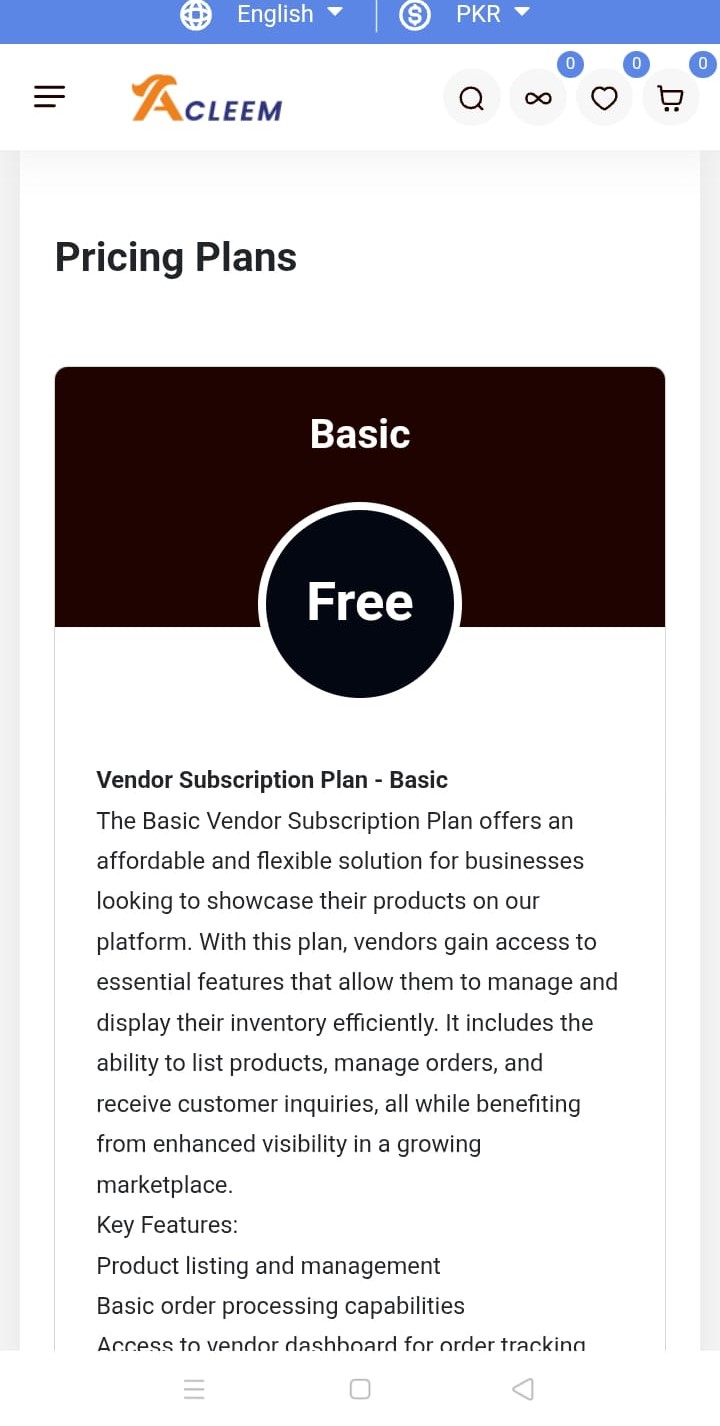
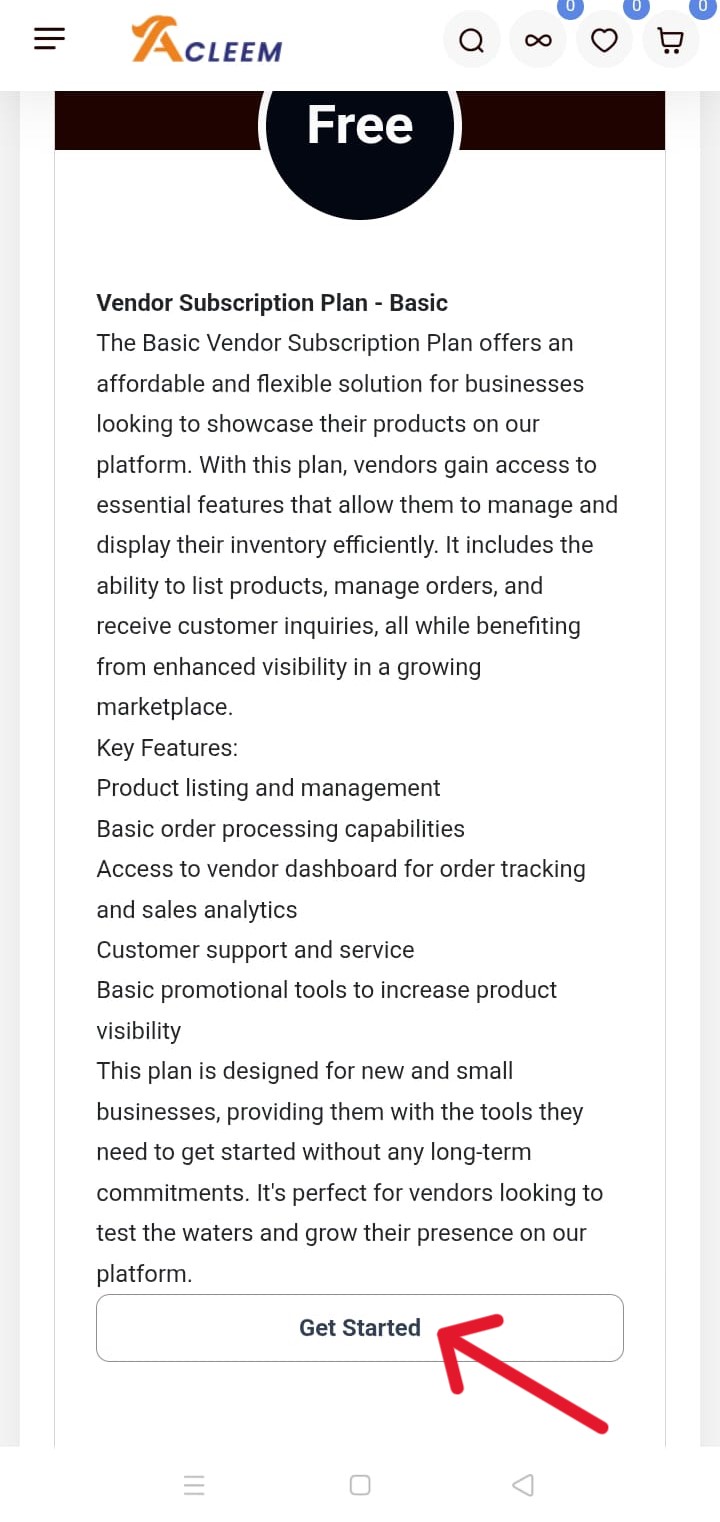
Step 4: Select Your Seller Package
- In your dashboard, tap the Menu (usually three lines or a hamburger icon).
- Tap Packages.
- Choose the Basic Package to begin.
- Tap Submit to activate your seller tools.
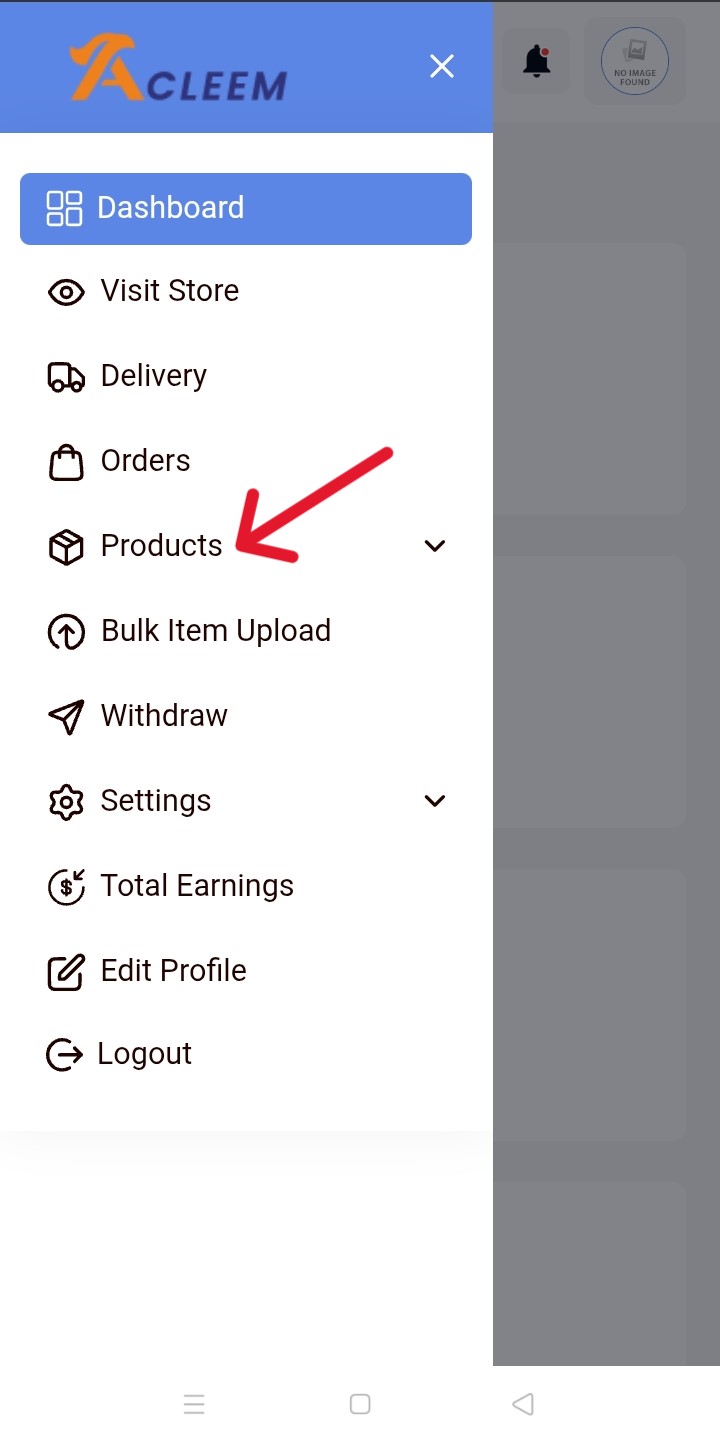
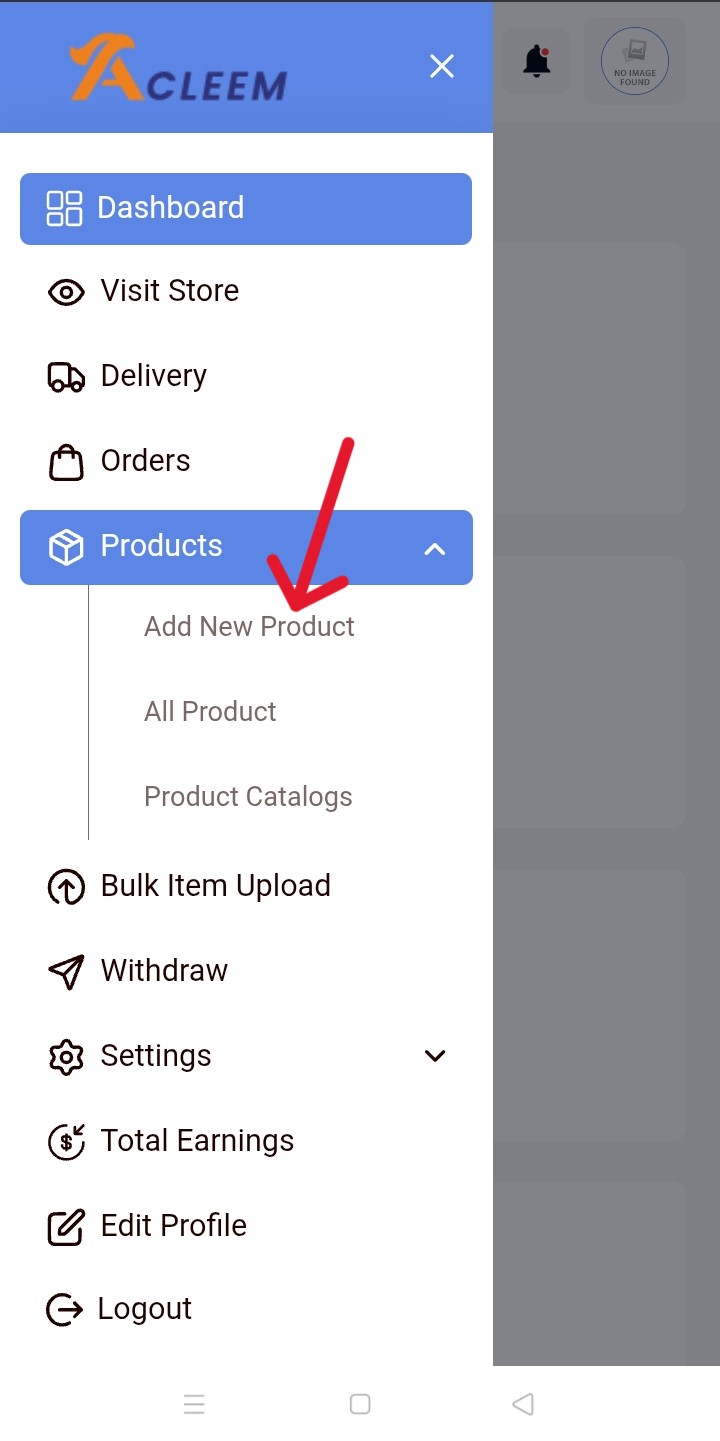
Step 5: Add Your First Product
- From the dashboard menu, tap Products > Add New Product.
- Select Physical as your product type.
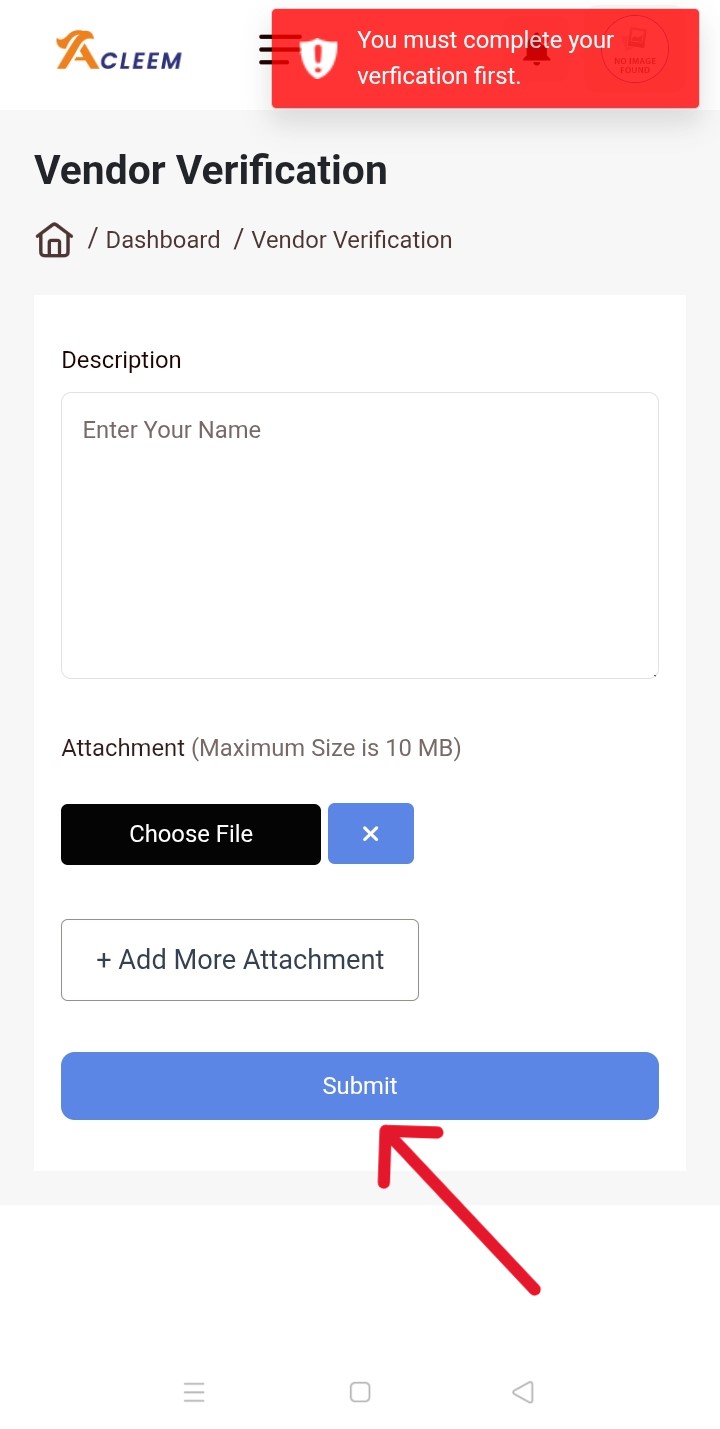
- Before you continue, you’ll be prompted to fill out a Vendor Verification Form.

Step 6: Fill the Vendor Verification Form (on your phone)
You’ll need to:
- Write a short description of your business.
- Upload clear pictures or scans of your:
CNIC (National ID)
Any supporting business documents (if applicable)
- Make sure your documents are readable before uploading.
- Tap Submit once all details are filled.
Step 7: Wait for a Call from Acleem’s Verification Team
Once your form is submitted:
- The Acleem team will review your documents.
- You’ll receive a confirmation call for final verification.
- After approval, your seller account will be fully activated
Step 8: Start Uploading Your Products
Once you're verified, go to Products > Add New Product again. From there, you can start uploading your items by adding clear images, setting prices, writing detailed descriptions, and tapping publish. Repeat this process for each product you want to list on Acleem.
You're All Set! Start Selling from Your Pocket
No laptop? No problem. Acleem's mobile-friendly platform lets you manage your online store with just your phone. From registration to product uploads—everything is just a few taps away.
Visit Acleem.com, register as a vendor, and start selling today—right from your mobile!

